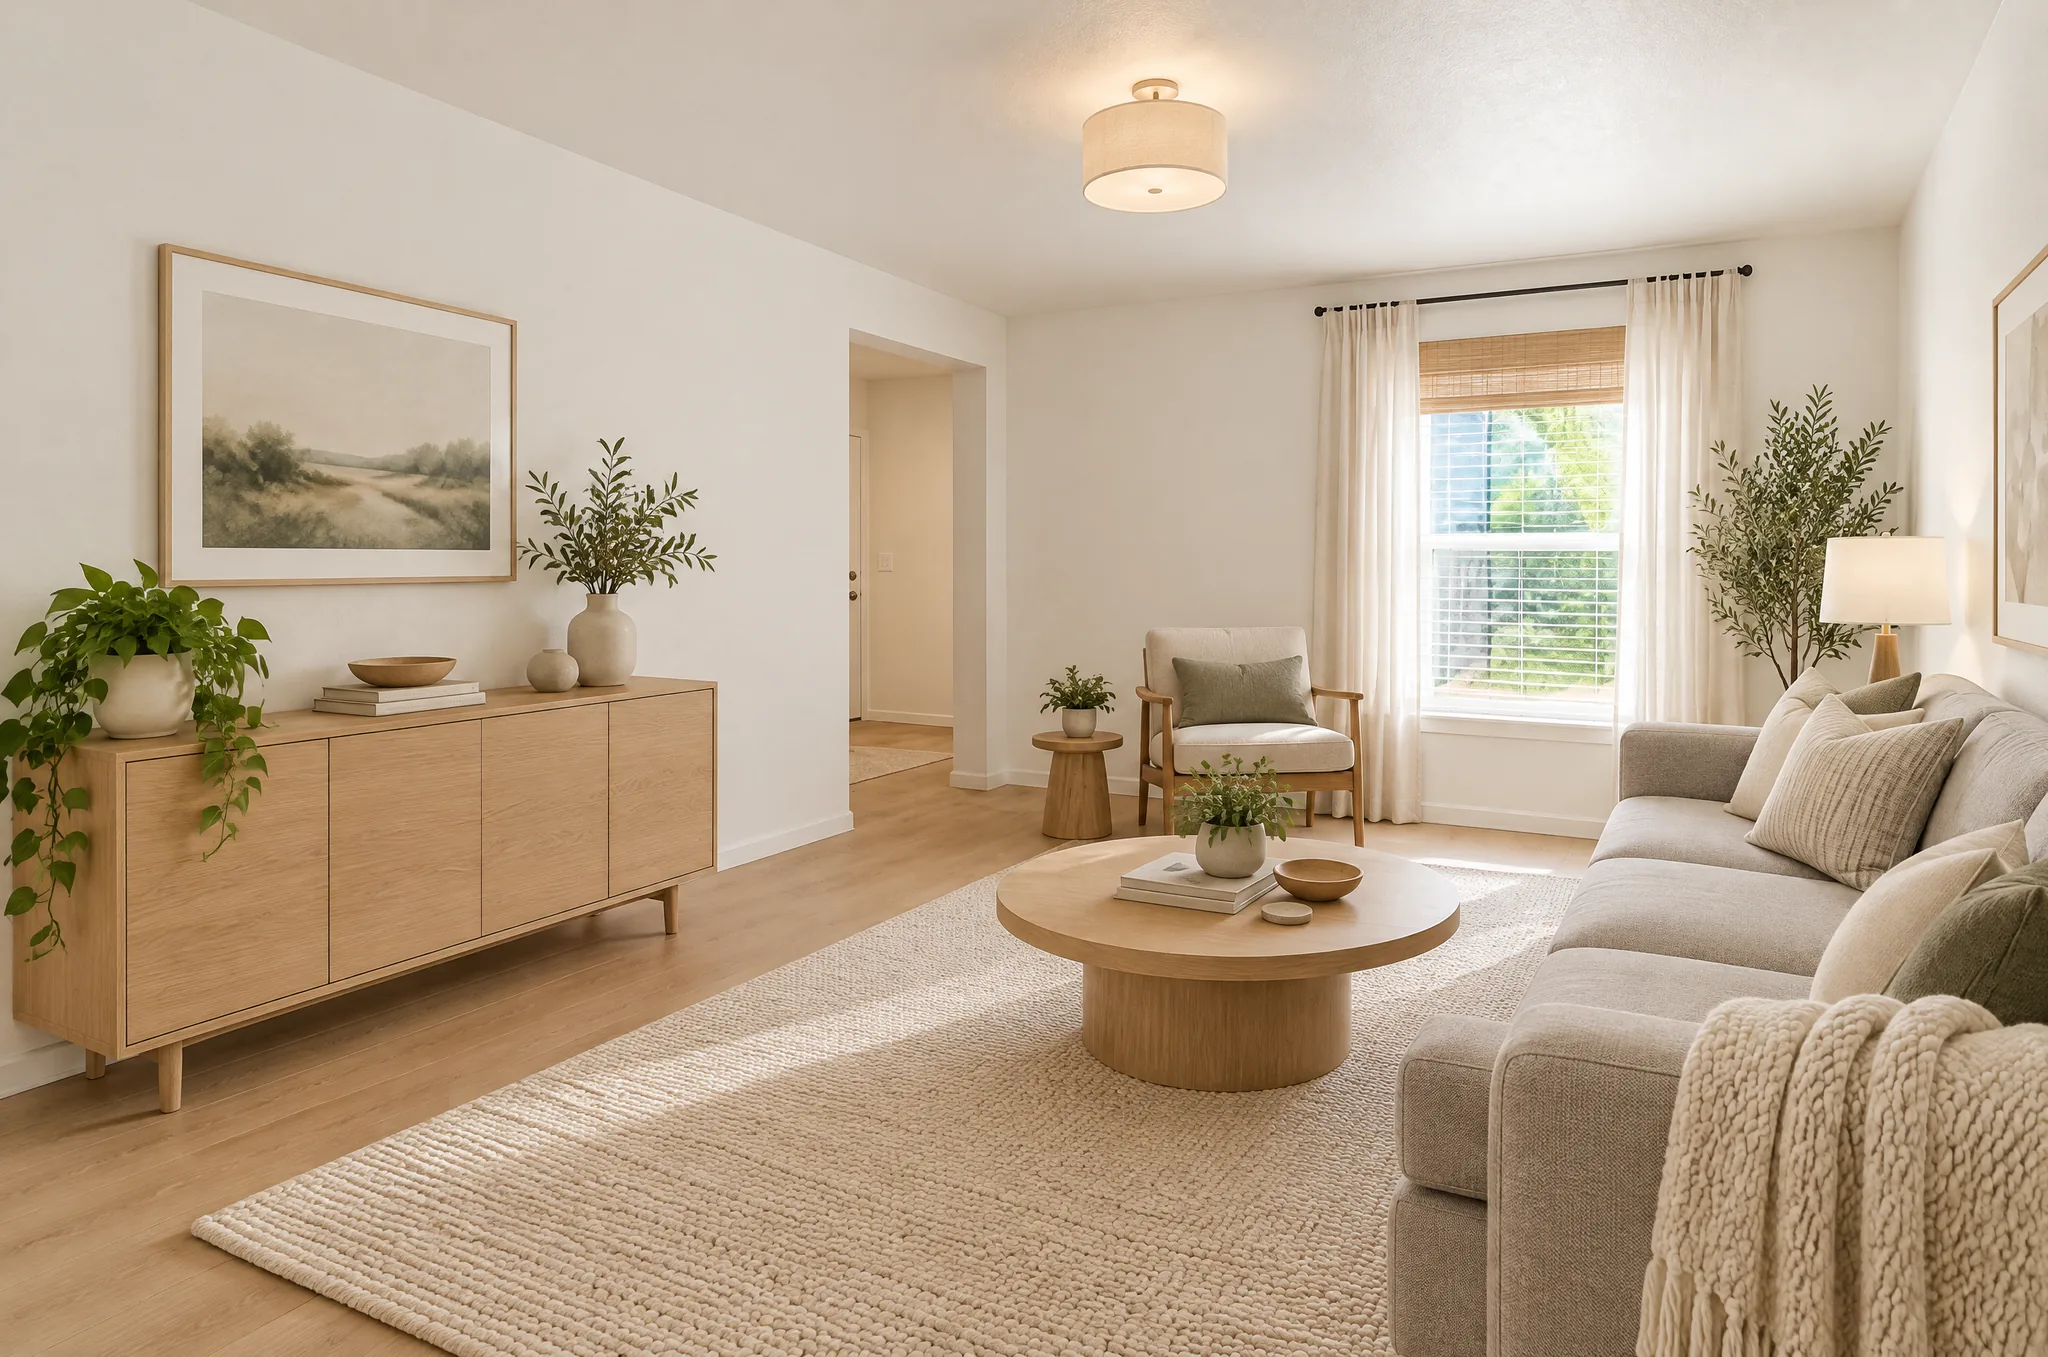
An AI interior design tool turns a photo of a real room into a restyled version of that same room: same walls, windows and camera angle, new furniture, colors and materials. You do not need design skills or any software. The whole loop, from upload to a finished picture, takes about 30 seconds, so you can test a style before you spend money on paint or a sofa.
This guide walks through the exact steps in the AI Interior Design tool, what to put in the photo, how to write instructions the AI can follow, and what to do when the first result is close but not right.
What You Need Before You Start
- One photo of the room. A phone photo is fine.
- A rough idea of the look you want. If you have none, that is fine too: the tool has an "AI Recommend" option, and the style list below will help you pick.
- A minute or two. New visitors get 2 free credits and each design costs 1 credit, so you can try two versions without creating an account.
Step 1: Take a Photo the AI Can Work With
Most disappointing results trace back to the photo, not the tool. A few habits make a big difference:
- Stand in a corner and shoot across the room. This shows two walls and the floor, which gives the AI the most spatial information.
- Use daylight. Turn on the lights and open the curtains. Dark, grainy photos lead to muddy results.
- Keep the camera level. Tilted shots produce tilted rooms.
- Include the floor and at least two walls. The AI uses these to understand scale and perspective.
- Clear the obvious clutter, or plan to remove it. If you cannot tidy up, you can erase objects afterwards with the object removal tool.
An empty or half-empty room gives the AI the most freedom. A fully furnished room works too, but the result will lean on what is already there unless you tell it otherwise.
Step 2: Upload the Photo
Open the interior design tool and drag your photo onto the upload area, or click it to choose a file. JPG, PNG and WebP work. Large phone photos are resized in your browser before uploading, so you do not need to shrink them yourself. If your iPhone saves HEIC files, switch the camera format to "Most Compatible" or share the picture as a JPG.
Step 3: Choose a Style
The tool offers 15 interior styles. Here is a quick way to choose:
| If you want... | Try |
|---|---|
| Light, airy and uncluttered | Scandinavian |
| Calm, natural and a little warmer | Japandi |
| Clean lines and a restrained palette | Modern Minimalist |
| Exposed brick, metal and big windows | Industrial |
| Relaxed, sunny and blue-and-white | Coastal |
| Warm, textured and softly curved | Organic Modern |
| Quiet, earthy and imperfect | Wabi-Sabi |
| Warm, rustic and welcoming | Farmhouse |
If you are torn, our comparison of 11 interior design styles explains how each one looks and feels in real rooms. You can also leave the selector on AI Recommend and let the tool pick a style that suits the room.
Coming from a style page? Links such as "Try Scandinavian on your photo" open the tool with that style already selected.
Step 4: Add Instructions (Optional, but Worth It)
The instruction box is where you steer the result. Short, concrete sentences work best.
Good instructions
- "Light oak floor, gray sofa, round coffee table, lots of plants."
- "Keep the window and the fireplace. Replace the carpet with wood."
- "Warm lighting, earthy colors, a low sofa in beige linen."
Instructions that tend to backfire
- Long lists with ten or more items. The AI will try to include all of them and the room ends up crowded.
- Conflicting styles ("minimalist but maximalist and rustic").
- Brand names or exact dimensions. The AI makes pictures, not product specifications.
If you do not know what to write, leave it blank for the first attempt and see what the style alone produces. Then add instructions on the second try.
Step 5: Generate and Compare
Press Generate Design. After about 30 seconds you get a before-and-after slider: drag the handle to compare your original photo with the redesign. Look for three things:
- Layout. Are the windows, doors and walls where they should be?
- Scale. Does the sofa look like a real sofa for that room?
- Mood. Would you actually want to spend time in it?
Step 6: Tweak It Instead of Starting Over
If the result is close, use the Not quite right? Tweak it box under the picture. It edits the design you just made and leaves everything else alone. Each change costs 1 credit, the same as a new design. Examples that work well:
- "Make the walls a warmer white."
- "Replace the armchair with a green velvet one."
- "Add a large plant in the corner."
- "Simplify, fewer decorative objects."
Tweaking is usually better than regenerating from scratch, because a new generation can change things you liked.
Step 7: Save, Share and Use the Result
Download the picture to keep it, or use Share to get a link to a before-and-after page you can send to a partner, a roommate or a contractor. The design is a visual concept, so use it to agree on direction: colors, furniture types, how bright or warm the room feels. For measurements, electrical changes or structural work you still need drawings from a professional.
When you choose a specific style, the result also comes with a short shopping list for that style: typical furniture and decor, materials and colors, and rough DIY, mid-range and professional budget ranges. Treat it as a starting point for shopping, not a quote.
When to Use Style Transfer Instead
If you already have a picture of a room you love, such as a saved magazine photo or a Pinterest pin, the style transfer tool is a better starting point than choosing from a list. Upload your own room and the reference image, and the AI applies the reference's look to your space. Use it when words are hard: "that exact warm, textured living room" is easier to show than to describe.
Common Mistakes (and Quick Fixes)
- The room looks cramped. Remove most of the instructions and let the style do the work.
- A window or door moved. Add "keep the windows and doors exactly as they are" and regenerate, or tweak the result.
- Furniture looks too big or too small. Mention the piece and its size relative to the room: "a small two-seat sofa."
- A leftover object spoils the picture. Use object removal on the photo first, then redesign.
- Everything looks too perfect. That is the nature of AI renderings. Look at the tones and the proportions, not the surface sheen.
Credits, Watermarks and Cost
New visitors get 2 free credits. You can earn 1 more credit each day with a check-in, a bonus for a 7-day streak, and extra credits when friends you invite create their first design. Designs made with free credits carry a small LandscapeCraft.ai watermark in the corner; designs made with credits you buy (a pack or a subscription) come without it, and one purchased credit removes it from an earlier design. Credit packs are one-time purchases that never expire, and a monthly or yearly subscription is available if you design regularly. Details are on the credits page.
Frequently Asked Questions
Does the AI keep my room's layout?
It is designed to keep the structure of the photo (walls, windows, doors and the camera angle) and change the finishes and furniture. Results are not guaranteed to be pixel-exact, so always check the slider for anything that moved.
Can I redesign a room I have not built yet?
Yes, if you have a floor plan, the floor plan to design tool turns a 2D plan into a furnished room image.
How many styles can I try?
As many as your credits allow. A good habit is to try the same photo in two different styles and pick the one that feels right.
Is my photo private?
Your photos are stored in our cloud storage so that we can process them and keep your design history, and they are sent to our AI image provider to generate the result. They are not published anywhere unless you choose to share a design: a share link makes that design's before and after images viewable to anyone who has the link. Details are in the privacy policy.
Try It on Your Own Room
The fastest way to learn what a style looks like in your space is to try it. Open the interior design tool, upload one photo, and compare two styles side by side. You can see how a finished result looks in the Scandinavian living room before and after.