You can remove objects from a photo with AI by describing them in plain language: "erase the old shed on the left" or "remove the parked car." The AI deletes the object and rebuilds what was behind it: lawn, wall, floor, shadows and all. A second tool, object replacement, swaps one thing for another, such as a stump for a flowering tree or a chain-link fence for cedar.
Both are useful before you commit to a redesign. They answer questions like "what would this yard look like without the shed?" and "would a cedar fence look better than this one?" without a single hour of photo editing. This guide covers when to use each tool, how to write prompts that work, and the mistakes that cause most bad results.
Object Removal vs. Object Replacement: Which One Do You Need?
| You want to... | Use | Example prompt |
|---|---|---|
| See the space without something | Object Removal | "Remove the old shed and the garden tools." |
| Put something different in the same spot | Object Replacement | "Replace the stump with a blooming pink cherry tree." |
| Change the whole look of a space | AI Landscape Design or Interior Design | Choose a style instead of editing one object |
A good rule of thumb: if the answer is "nothing," use removal. If you can say what should go there instead, use replacement. If you are changing more than two or three things, a full style redesign is usually faster and more consistent.
How Object Removal Works
Object removal is an inpainting task. The AI looks at the surrounding pixels (grass, wall, paving), infers what continues behind the object, and generates it. There is no manual masking: you describe the object, and the AI finds it.
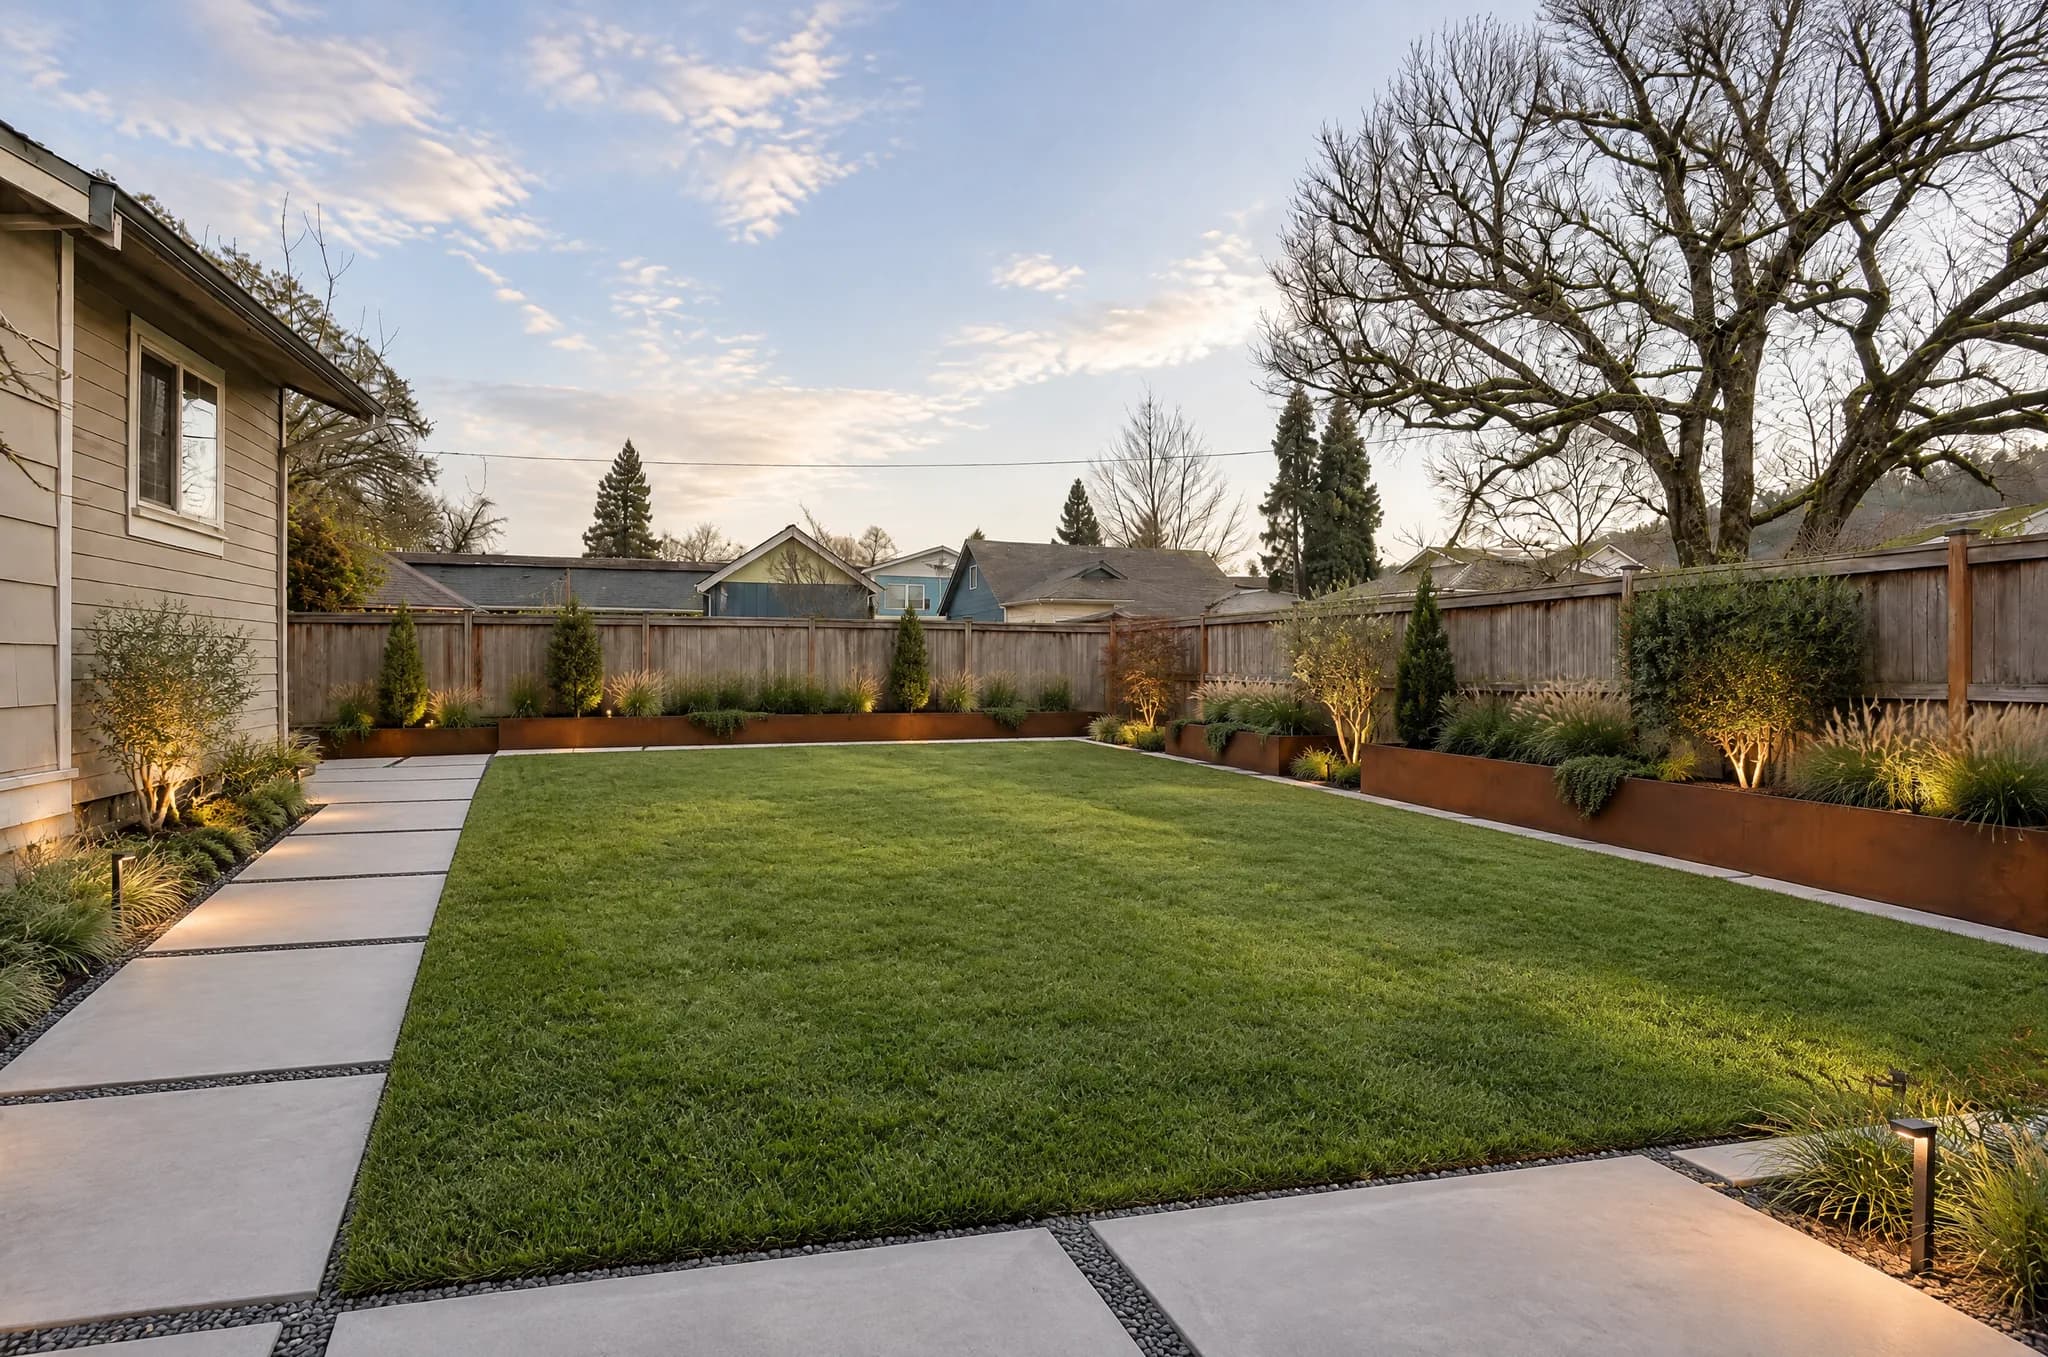
Our example shows a rusty garden shed and scattered tools erased, leaving a clean lawn, flower borders and a flagstone patio with natural light and shadows intact. See the full before and after.
Steps
- Open the object removal tool and upload your photo.
- In the "What should be removed?" box, describe the object and where it is.
- Press generate and wait about 30 seconds.
- Use the slider to compare. If it missed something, run it again on the result with a more specific prompt.
Writing prompts that work
- Name the object and its position. "The blue recycling bin next to the garage door" beats "the bin."
- One or two objects at a time. Long lists get partially ignored. Do the biggest item first.
- Say what should be there instead when it is not obvious. "Remove the car and show a clean driveway" is clearer than "remove the car."
- Avoid vague words like "stuff," "clutter" or "things." Describe categories you can see: "toys on the lawn," "boxes in the corner."
How Object Replacement Works
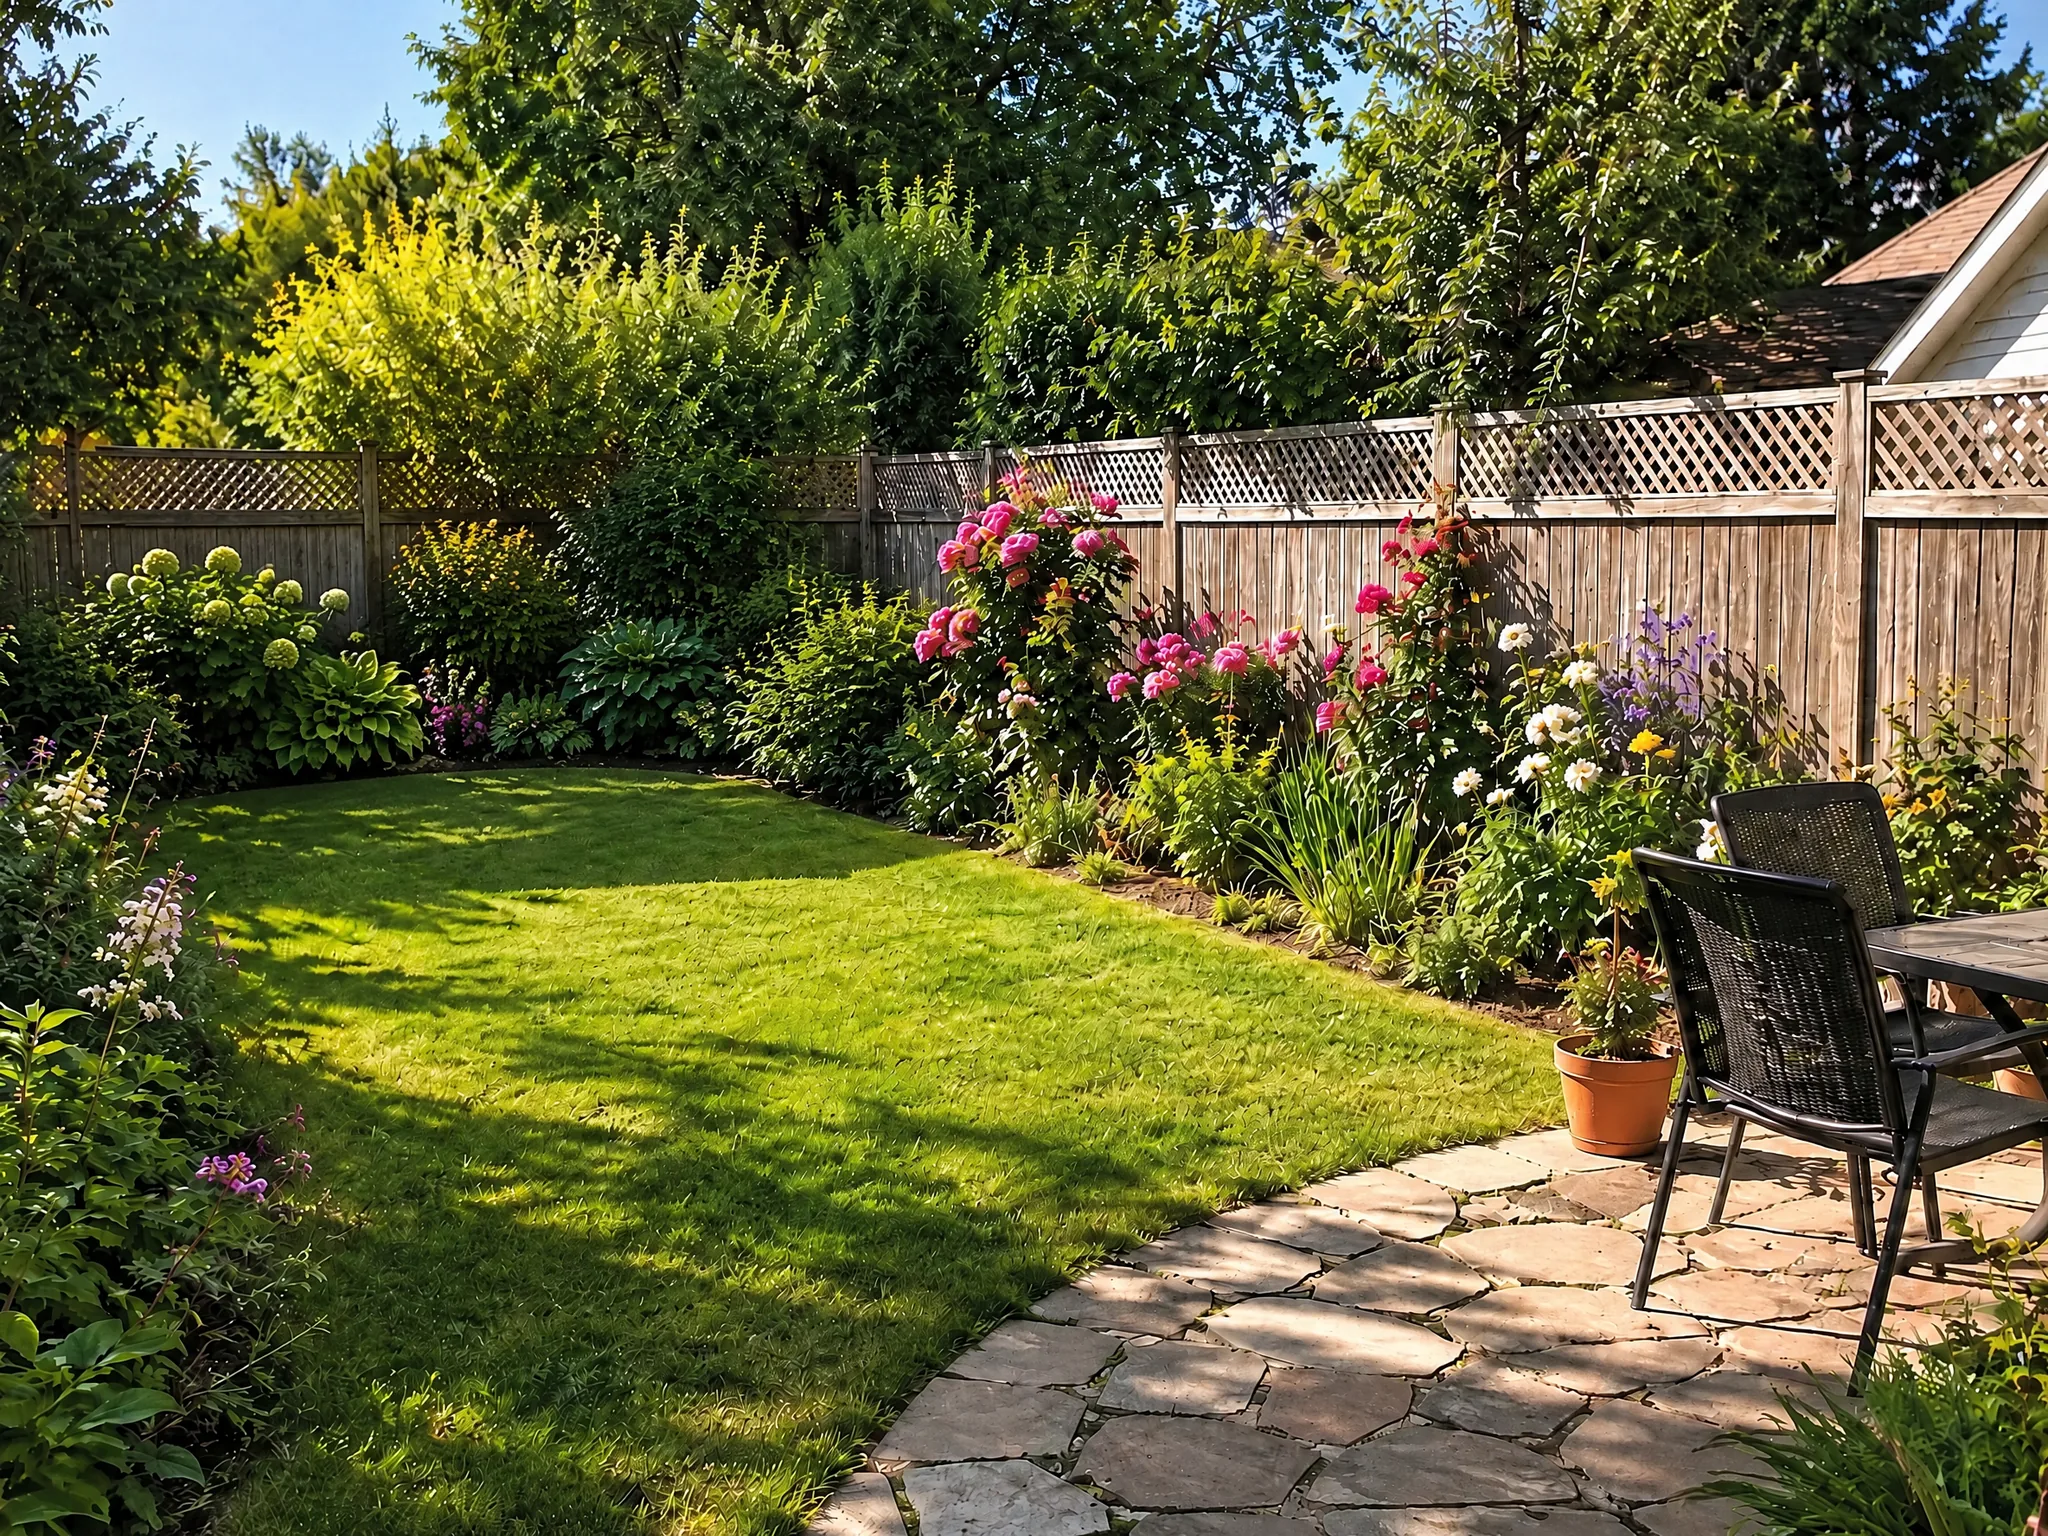
Replacement does two jobs at once: it removes the old object and generates a new one with matching light, shadows and perspective. Our example swaps a weathered stump for a blooming pink cherry tree while the ivy-covered fence, hostas, daylilies and lawn stay untouched (see it).
Steps
- Open the object replacement tool and upload your photo.
- Describe the swap in one sentence: what goes, what comes.
- Generate, compare, and repeat with a different description to test options.
Replacement ideas by space
Outdoors
- Chain-link fence to cedar privacy fence
- Dead tree to a flowering cherry or crabapple
- Gravel to flagstone, or lawn to a gravel garden
- Plastic chairs to teak or woven seating
- Old shed door to a painted Dutch door
Indoors
- Dated light fixture to a pendant or a linear chandelier
- Old sofa to a modern sectional
- Carpet to light oak flooring
- Heavy curtains to sheer linen
- Laminate kitchen counter to stone
Write the replacement like a product description
"A bigger, nicer fence" gives the AI nothing to hold on to. "A six-foot horizontal cedar privacy fence with black posts" does. Give a material, a color and an approximate size, and avoid brand names.
Use Both Tools Before a Redesign
A tidy photo gives a better redesign. A common workflow:
- Remove anything you plan to get rid of anyway: the shed, the cars, the toys, the old furniture.
- Replace one or two features you want to test, such as the fence or a tree.
- Redesign the cleaned-up photo with a style, using the landscape design tool or the interior design tool.
Each step costs 1 credit, and new visitors get 2 free credits, so plan which edits matter most. For example, if the main clutter is one shed, remove it and then run a style redesign: that uses both free credits and gives you a before photo that looks like the yard you want to build.
Common Mistakes
- Photos taken against the light. Strong backlighting or deep shadows make it harder to rebuild the background convincingly.
- Objects at the edge of the frame. The AI has less surrounding information, so edges can look smeared. Shoot a little wider.
- Removing something structural. Taking a wall or a column out of a photo does not mean you can remove it from the house. Use it for planning only.
- Asking for too much in one pass. Two small edits usually beat one huge one.
- Expecting exact pixels. The AI generates new content. Zoom in before you rely on a result, especially around patterns like brick, fences or wood grain.
Where These Tools Help Most
- Homeowners planning projects. See the yard without the old shed or deck before you decide whether to demolish it.
- Contractors and landscapers. Show a client the cleared site next to the finished design, in the same photo.
- Designers and stagers. Create a clean base photo for concepts.
- Anyone comparing materials. Swap a fence, a floor or a fixture and see them side by side.
If you use edited photos in a property listing, be careful. Many listing services and local rules expect digitally altered images to be disclosed, and removing permanent features such as power lines or neighboring buildings can mislead buyers. Check the rules where you are listing, and label edited images clearly.
Frequently Asked Questions
Is object removal free?
New visitors get 2 free credits, and each removal or replacement costs 1 credit. Results made with free credits carry a small LandscapeCraft.ai watermark; results made with credits you buy come without it, and one purchased credit removes it from an earlier result. See the credits page.
Will it match the lighting and shadows?
It is built to, and usually does well on simple backgrounds like lawn, sky, plain walls and paving. Complex patterns and strong reflections are harder. Always check the result closely.
Can I remove people?
You can describe any visible object, including people, but the AI may leave traces on complex backgrounds. Only edit photos you own or have permission to edit.
What if the result looks wrong?
Run it again with a more specific prompt, or tweak one detail with the "Not quite right? Tweak it" box under the result. Changing the prompt is more effective than repeating the same one.
Try It on Your Own Photo
Start with the biggest eyesore in your photo. Remove it, or replace it with something you are considering, and see how the space changes. When it looks right, run a full style redesign to see the whole picture.